

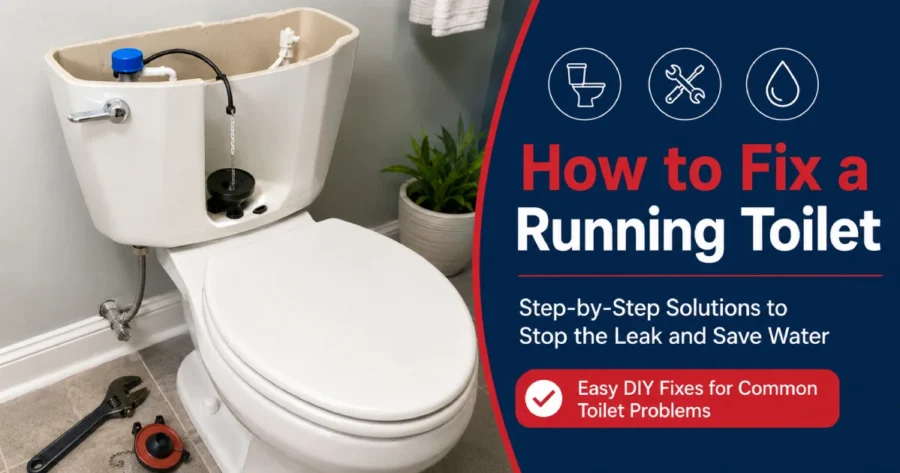
To fix a running toilet, you must diagnose the cause, adjust or replace the flapper, fix the chain, adjust the water level, clean or replace the fill valve, then test for leaks. Toilet leaks are the reason for water use increases, making a running toilet fix one of the common plumbing repairs in American households. A running toilet left unfixed wastes up to 200 gallons of water every day.
The causes fall within the DIY repair range using basic tools (pliers and a replacement flapper kit). Severe cases involving a cracked flush valve seat or corroded shutoff valve require a licensed plumber. Follow the six steps in this guide through the common plumbing problem repairs covered in each section for toilets with intact tank components.
Need an Professional Plumber?
We’re en route — licensed local pros ready to respond now.
1. Diagnose the Cause of Your Running Toilet
Diagnose the cause of your running toilet to know if the flapper, float, fill valve, or overflow tube needs attention. Remove the tank lid and check the water level first. The float sits too high and needs lowering if it spills into the overflow tube.
Press down on the flapper next. The seal has worn out and requires replacement if the running stops. Rule out the fill valve last by listening for a hissing sound after the tank refills fully, since a faulty valve keeps water flowing constantly.
2. Adjust or Replace the Toilet Flapper
Adjust or replace the toilet flapper to stop the constant leak into the bowl. Lift the tank lid and inspect the seal for cracks, warping, or mineral buildup along the edges. Press the flapper down firmly to test the seal. Replacement solves the problem if the running noise stops immediately.
Turn off the water supply valve, unhook the flapper from the overflow tube pegs, detach the chain from the flush lever, and snap on a new flapper matched to the flush valve size (2-inch or 3-inch), then reconnect the chain with 1/2 inch of slack.
3. Fix the Toilet Chain Length and Alignment
Fix the toilet chain length and alignment to stop the flapper from sticking or slipping out of place. Unhook the chain from the flush lever and check for slack. Too much length lets it slip beneath the flapper and break the seal. Trim excess links with pliers, leaving 1/2 inch of slack between the lever and the flapper.
Reattach the chain and centre it over the flapper hinge to prevent snagging on the overflow tube. Flush the toilet once and time the refill. A tank that stops filling within 2 minutes confirms a tight seal.
4. Adjust the Tank Water Level (Float Ball or Cylinder)
Adjust the tank water level to prevent overfilling and constant running into the overflow tube. Locate the float ball or float cup attached to the fill valve inside the tank. Turn the adjustment screw clockwise 2 to 3 full turns to drop the cup with the fill valve stem for a float cup.
Mark the target level 1 inch below the top of the overflow tube using a pencil. Flush once and wait 3 minutes for the tank to refill fully, then compare the new waterline against the pencil mark. Repeat the adjustment and wait another 3 minutes until the water settles right at the mark. Small adjustments in the water supply system keep the tank from wasting water on every cycle.
5. Clean or Replace the Toilet Fill Valve
Clean or replace the toilet fill valve to stop the constant hissing and refilling cycle. Unscrew the fill valve cap counterclockwise 1/8 turn, then hold a cup over it and turn the supply back on for 10 seconds to flush out sediment. Replace the cap and wait 3 minutes to check if the hissing stops.
Disconnect the supply line and unscrew the lock nut underneath the tank, then lift the old valve out. Drop in a new fill valve, secure the lock nut 1/2 turn past hand-tight, and reconnect the supply line. Wait 3 minutes for the tank to refill fully, then confirm the waterline sits 1 inch below the overflow tube.
6. Test Your Repair and Check for Leaks
Test your repair and check for leaks to confirm the fix holds before closing the tank. Flush the toilet once and listen for any hissing or running noise after the tank refills fully. Drop 5 to 10 drops of food colouring into the tank, then wait 20 minutes without flushing. Check the bowl for any trace of colour.
Flush immediately after the test to avoid staining, then inspect the base and supply line connections for drips. A proper plumbing repair leaves the tank silent, the waterline steady at 1 inch below the overflow tube, and zero colour transfer into the bowl.
Why Does the Toilet Keep Running Constantly?
A toilet keeps running constantly because the flush cycle fails to complete a proper shutoff. A worn flapper loses its seal against the flush valve seat, letting water bleed from the tank into the bowl and triggering the fill valve to keep refilling.
A misadjusted float sitting too high pushes water past the overflow tube and straight down the drain. The 3 components (the flapper, float, and fill valve) are responsible for all cases of a toilet constantly running.
What Causes a Toilet to Run Water Continuously?
The causes of a toilet running water continuously are listed below.
- Worn Flapper Seal: A degraded rubber flapper fails to seat flush against the flush valve, allowing water to bleed from the tank into the bowl constantly;
- Faulty Fill Valve: A damaged fill valve diaphragm keeps the water supply line open past full tank capacity, triggering a continuous refill cycle;
- Misadjusted Float Ball or Float Cup: A float set above the critical waterline forces water past the overflow tube threshold and directly down the drain;
- Tangled or Excess Chain Slack: A kinked or overly long flapper chain catches beneath the flapper seat, preventing a complete watertight seal after each flush;
- Cracked Overflow Tube: A damaged overflow tube drains tank water continuously into the bowl regardless of the float or flapper position;
- Mineral Buildup on the Flush Valve Seat: Hard water deposits on the valve seat prevent the flapper from sealing properly, creating a slow but constant water leak.
How Do I Know If My Toilet Flapper Is Bad?
Your toilet flapper is bad when the rubber seal shows visible cracks, warping, or mineral deposits with the seating edge. Press the flapper down firmly against the flush valve seat.
A drop in the toilet running sound within 10 seconds confirms the flapper has lost its watertight seal. Replace the flapper immediately if the rubber feels soft, disintegrated, or leaves dark residue on your fingers after handling.
When Should I Call a Professional Plumber for a Running Toilet?
You should call a professional plumber for a running toilet when the problem persists after replacing the flapper, adjusting the float, and cleaning or replacing the fill valve. A cracked flush valve seat, a damaged overflow tube assembly, and pipework beyond standard DIY repair.
Hairline cracks in the tank base, or a fill valve that fails immediately after replacement, all signal internal damage that worsens without expert intervention. You must contact a professional plumber through WhatsDemand to get matched with a plumber who handles toilet repairs and pipe replacements in your area.Will a Running Toilet Eventually Stop?
No, a running toilet will not eventually stop on its own without direct repair to the faulty component. A worn flapper, misadjusted float, or failing fill valve worsens over time as rubber degrades and mineral buildup accumulates on the flush valve seat.
How Can You Avoid Future Toilet Emergencies?
You can avoid future toilet emergencies by caring for the tank parts and watching what goes down the drain. Flush only toilet paper and human waste. Wipes, paper towels, and hygiene products clog toilets even when the label says flushable. Check the flapper, chain, and fill valve every few months for wear. Fix a running toilet right away, since a stuck fill valve can overfill the tank. Learn where the shutoff valve is so you can stop the water fast. Older homes also benefit from an annual plumbing check.
What Should You Do If Your Toilet Floods?
You should shut off the water supply valve behind the toilet right away. Turn it clockwise until the flow stops. Lift the tank lid and push the flapper down to stop more water from entering the bowl. Do not flush again. Remove standing water with a bucket and towels, and keep children and pets away. Call a plumber if the water keeps rising or contains sewage. Our guide on flooded toilets covers the full cleanup steps.