

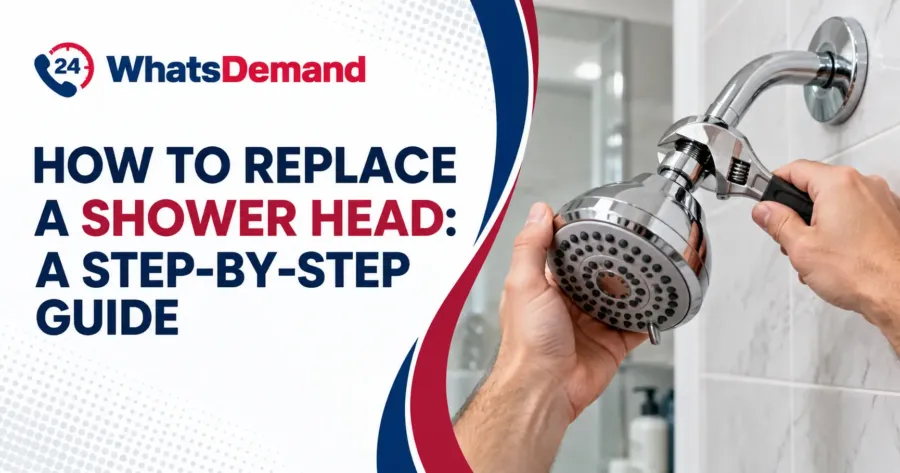
Replacing a showerhead is a simple DIY task that most homeowners and renters can complete in under 30 minutes with a few basic tools, and it rarely requires calling professional plumbing services. This guide walks through the tools you need, how to remove a stuck or corroded showerhead, the steps for installing a new one, changing showerheads, and the most common mistakes to avoid so your new fixture works right the first time.
What Tools and Materials Do You Need to Replace a Shower Head?
The tools and materials to replace a showerhead are listed below.
- Adjustable wrench or showerhead wrench: Used to loosen a stuck connection or snug up the new showerhead without relying on hand strength alone.
- Plumber’s tape (Teflon tape): Wraps around the threads of the shower arm to create a watertight seal and prevent drips at the connection.
- Old rag or cloth: Protects the finish on the shower arm and shower head from scratches when you’re gripping it with a wrench or pliers.
- Pliers: Provide extra grip on a corroded or heavily calcified connection that won’t budge with a wrench alone.
- Showerhead replacement: The new fixture itself, ideally one that matches your existing 1/2-inch NPT threaded connection.
How to Remove a Stuck or Corroded Shower Head?
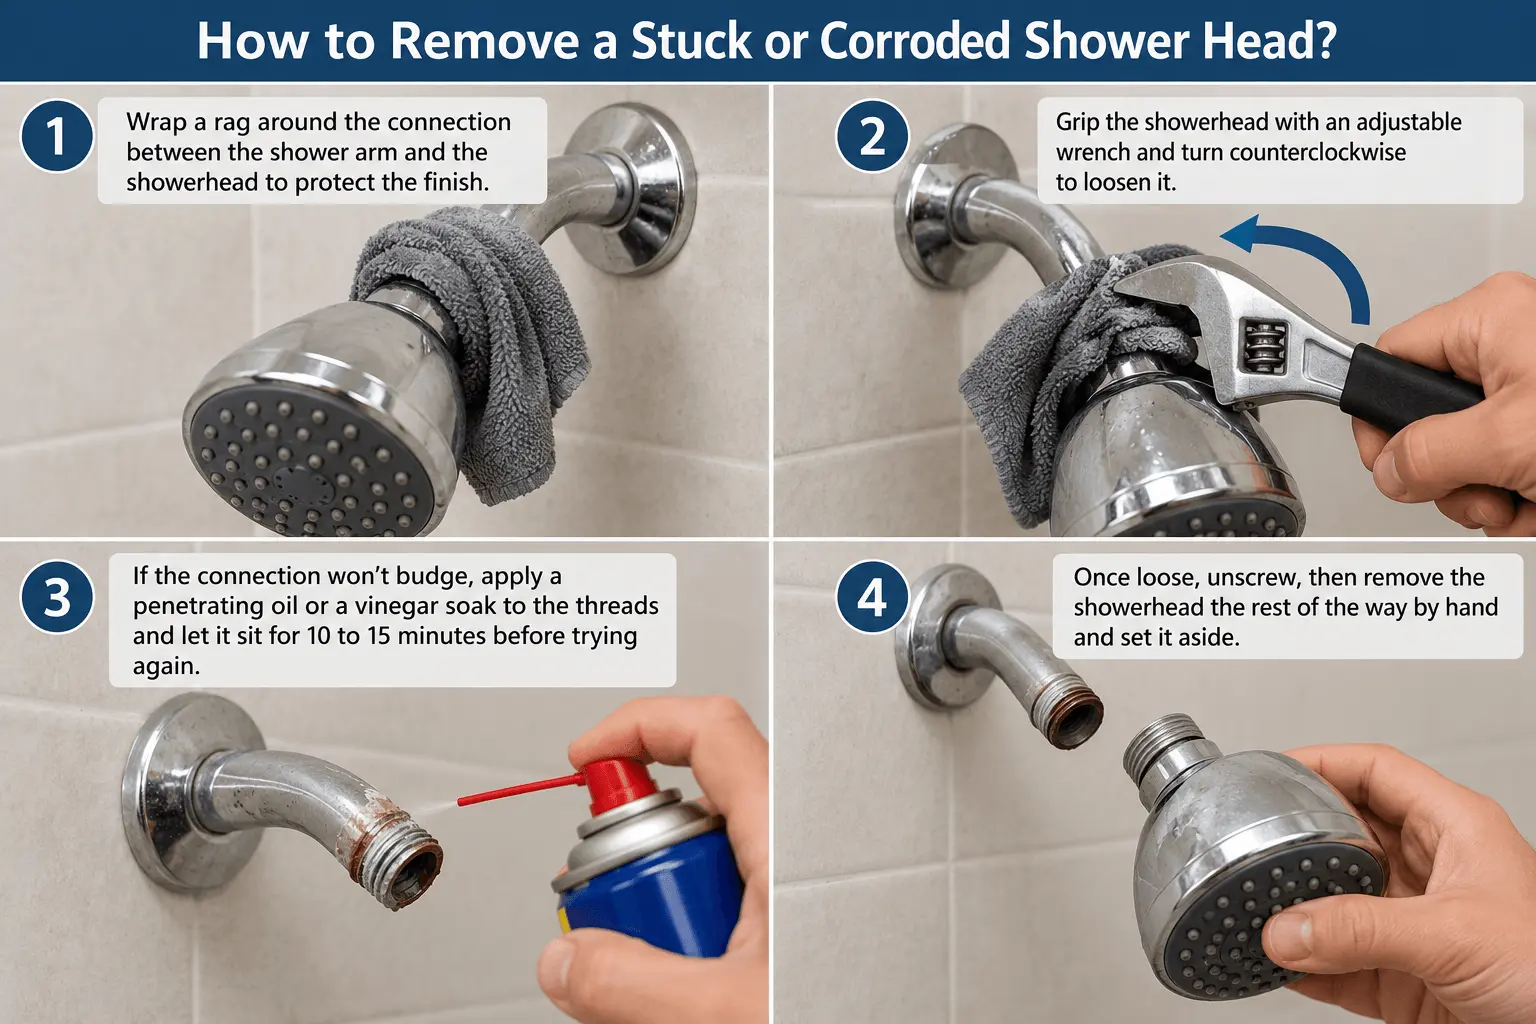
To remove a stuck or corroded showerhead, follow these steps.
- Wrap a rag around the connection between the shower arm and the showerhead to protect the finish.
- Grip the showerhead with an adjustable wrench and turn counterclockwise to loosen it.
- If the connection won’t budge, apply a penetrating oil or a vinegar soak to the threads and let it sit for 10 to 15 minutes before trying again.
- Once loose, unscrew, then remove the showerhead the rest of the way by hand and set it aside.
How to Install a New Shower Head
To install a new showerhead, follow these steps.
- Wipe down the exposed threads on the shower arm to remove any old plumber’s tape, debris, or mineral buildup.
- Wrap plumber’s tape clockwise around the threads three to four times, working in the same direction you’ll be turning the showerhead.
- Thread the new showerhead onto the arm by hand, turning clockwise until it’s snug.
- Tighten an additional quarter to half turn with an adjustable wrench, using a rag to protect the finish, without overtightening.
- Turn on the water and check for drips, tightening slightly more if needed.
Are Showerheads Universal?
Yes, most showerheads use a standard 1/2-inch NPT threaded connection, so most replacements fit. A few exceptions exist: European or metric fittings, handheld diverter systems, and specialty rain-shower arms sometimes use different thread sizes and may need an adapter to accept a standard showerhead.
How to Install Different Types of Shower Heads?
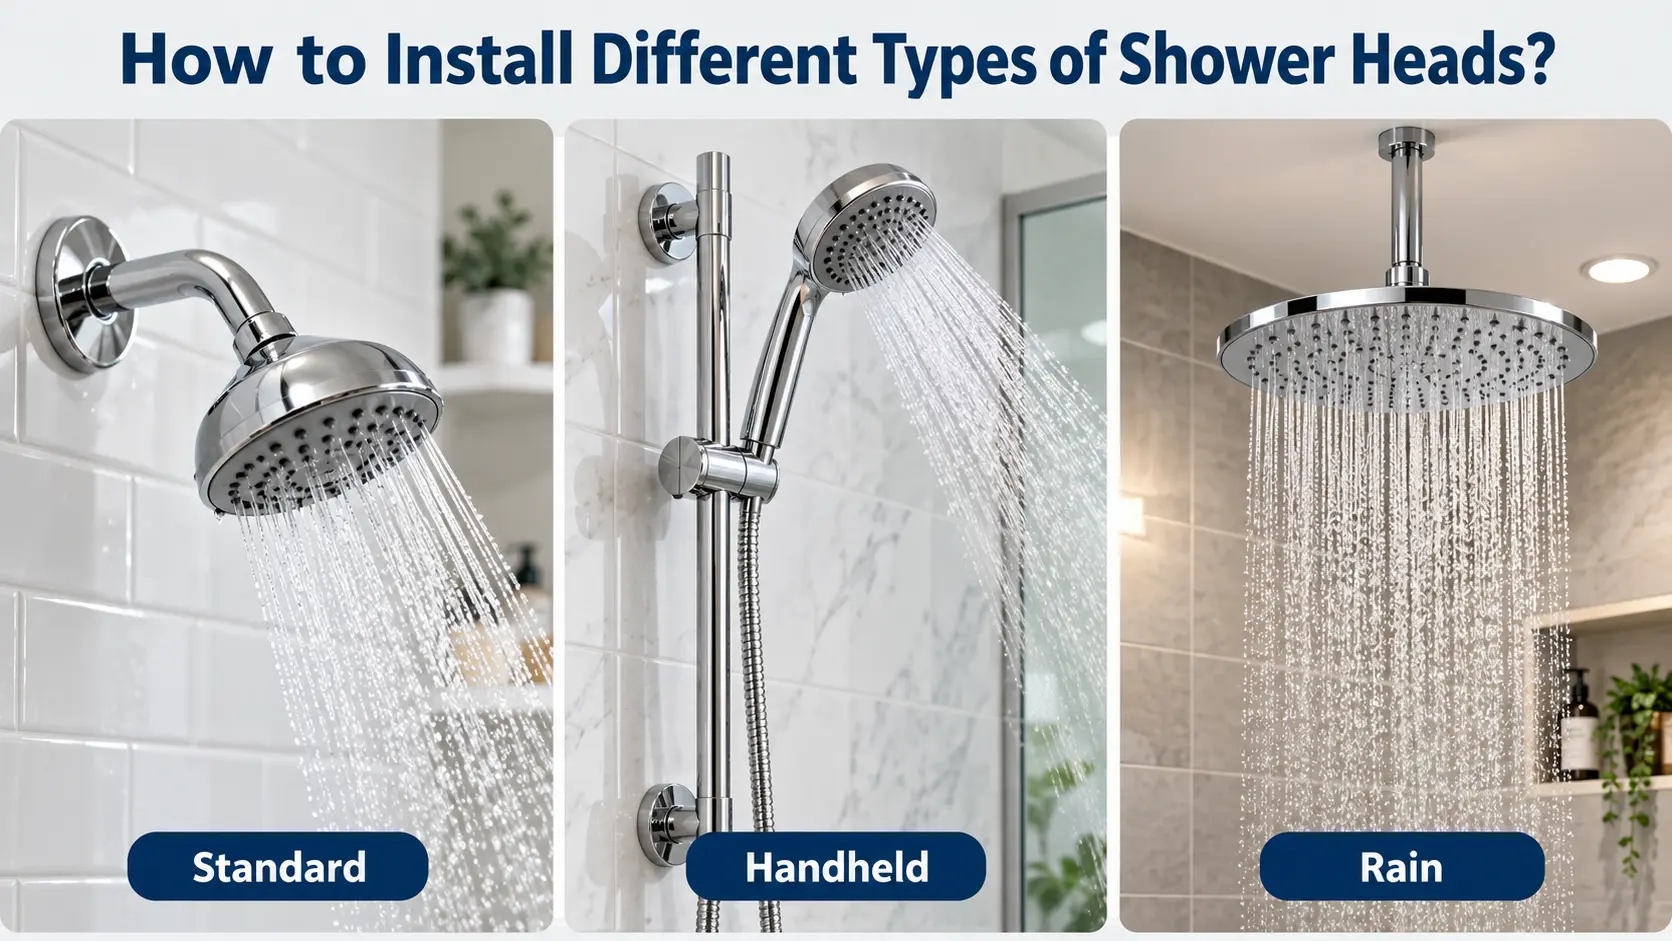
Handheld, hose-connected, and rain-style shower heads all follow the same basic threading steps covered above, with one added step: connecting a hose or mounting a bracket. The sections below cover what’s different for each type.
How Do You Install a Handheld Shower Head?
To install a handheld showerhead, follow these steps.
- Attach the mounting bracket or slide bar to the wall or existing shower arm, if your kit includes one.
- Connect the hose to the shower arm adapter, wrapping the threads with plumber’s tape first.
- Attach the handheld head to the opposite end of the hose, then run the water briefly to check for leaks at both connections.
How Do You Install a Rain Shower Head?
Installing a rain showerhead often requires a longer or angled shower arm in overhead positioning, in addition to the standard threading steps used for any other showerhead. Also, check your home’s water pressure before buying one, since some rain showerheads need a higher flow rate than a standard head to perform well.
What Common Mistakes Should You Avoid When Replacing a Shower Head?
Common mistakes you should avoid when replacing showerheads are listed below.
- Skipping plumber’s tape: Leaves the threaded connection without a seal, which leads to a leaking connection even if everything is threaded on tight.
- Overtightening: Puts too much stress on the fitting and can crack the showerhead or arm, especially if it’s made of plastic or an older, brittle metal.
- Forcing a non-standard fitting: It damages the threads on the shower arm when a showerhead doesn’t match, instead of using the correct adapter for a metric or specialty connection.
- Not testing for leaks: A slow drip at the connection can go unnoticed for days before you catch it, so the job isn’t done until you run the water and check. These mistakes are the same ones worth watching for across bathroom plumbing maintenance more broadly, not just shower head swaps.
How to Fix a Shower Head That Leaks or Drips After Installation
Insufficient plumber’s tape or an under-tightened connection is the most common cause of a showerhead that leaks or drips after installation. To fix it, remove the showerhead, re-wrap the threads with additional plumber’s tape, and reinstall it following the installation steps above.
Can You Replace a Shower Head in a Rental Home or Apartment?
Yes, in most cases you can replace a showerhead in a rental home or apartment. It’s generally considered a reversible, tenant-friendly upgrade because you can reinstall the original showerhead before move-out. Still, check the lease or ask the landlord first, since fixture-swap policies vary by property.
Why Is the Water Pressure Low After Replacing a Shower Head?
A clogged flow restrictor or mineral buildup inside the new showerhead is the most likely cause of low water pressure after a showerhead replacement. A mismatch between the head’s flow rate and your home’s water pressure can also be a factor. Removing and cleaning the flow restrictor is the first troubleshooting step worth trying.
Should You Replace a Shower Head Yourself or Hire a Plumber?
Yes, replacing a standard showerhead is a beginner-friendly DIY task that most people can handle with the tools listed above. A stuck or corroded fitting that won’t budge, a non-standard connection, or any sign of pipe damage behind the wall is a good reason to hire a plumber instead