

A DIY outdoor shower is a shower you plan, plumb, and build yourself in your yard, on a deck, or beside a pool. Planning comes first because the layout decides everything else. The water source, drain, size, and local rules all depend on where the shower stands. A weak plan leads to leaks, soggy soil, and rework.
People build outdoor showers for practical reasons. They let you rinse off sand, salt, chlorine, and garden dirt before you walk inside. They keep wet footprints off your floors. They also add a relaxed, resort-style feature to a backyard.
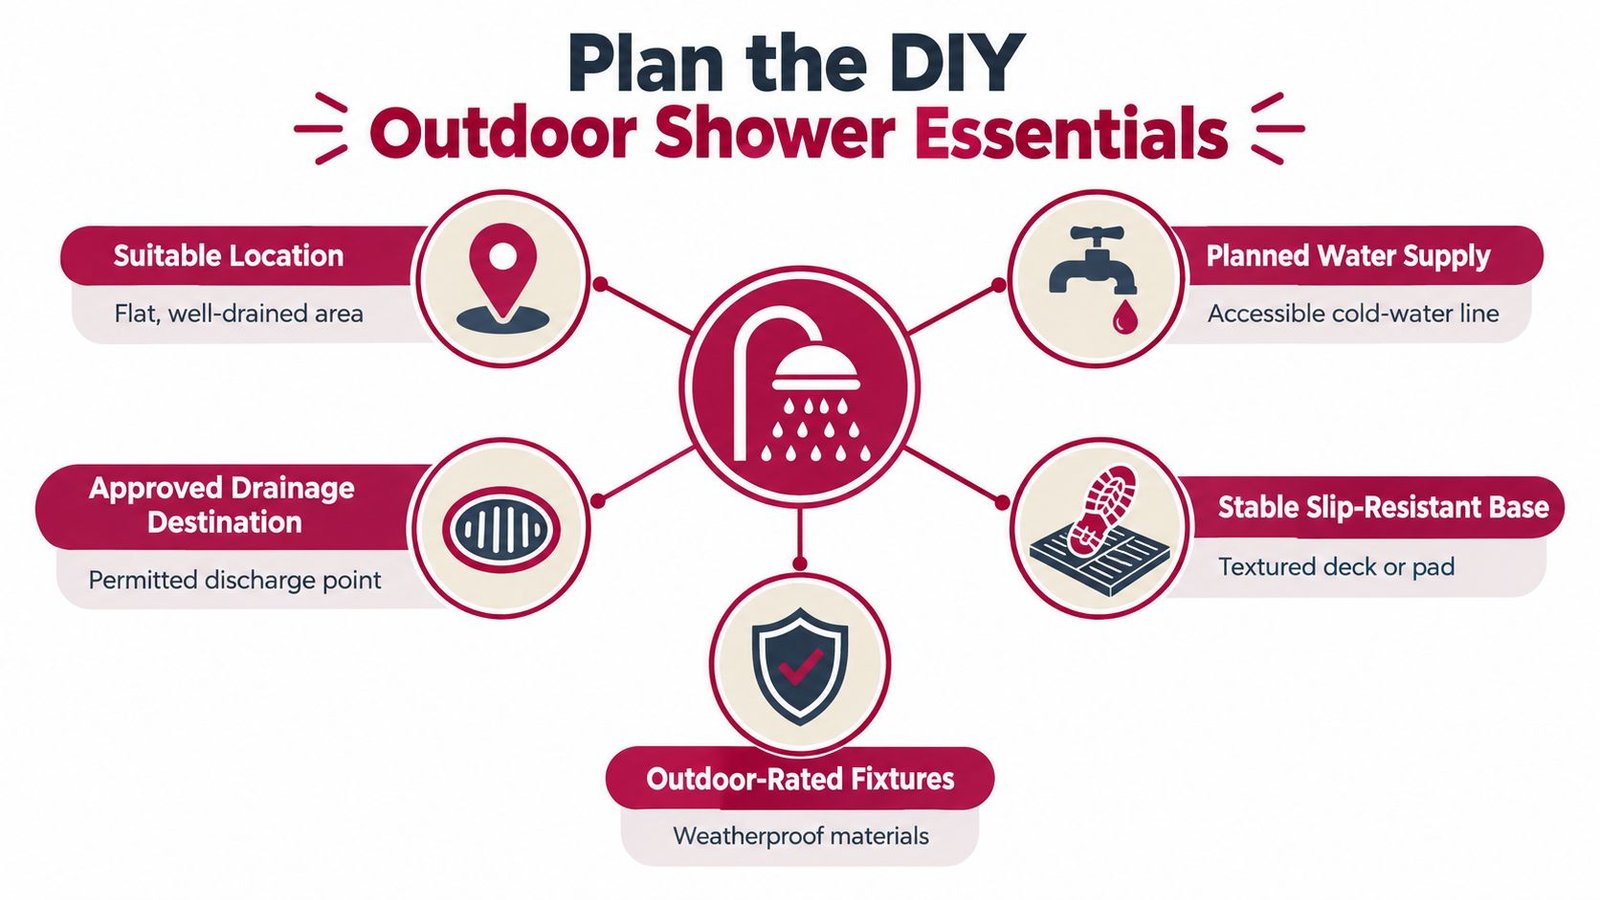
Consider a few things before you buy any parts. Decide between a ready-made outdoor shower kit and a custom build. Pick a style, such as a modern outdoor shower with clean lines and metal fixtures. Plan how hot and cold water will reach the shower. Plan drainage for the outdoor shower early, since runoff must soak away from your foundation. This guide covers the build steps, common mistakes, benefits, and care.
What Is a DIY Outdoor Shower?
A DIY outdoor shower is a shower you design and install yourself outdoors, using your own outdoor shower plans and a water supply from your home or garden. It usually includes a supply line, a valve, a showerhead, a drain area, and a privacy enclosure. Some people build it from scratch. Others start with a kit and add their own drainage and walls.
The work mixes carpentry and plumbing. Most homeowners handle the carpentry with ease. The plumbing is where problems start, such as tapping into a supply line or setting up a drain. If the project gets too complicated, call professional plumbers to finish the connections and keep the work up to local code. See the residential plumbing permit guidance for Portland homeowners for one example of local requirements.
Choose a Hose-Fed or Permanent Shower
The simplest outdoor shower uses a garden hose for cold water only. A permanent setup taps into your home's supply lines and may provide hot water. Check local rules for either option. The Ventura guidelines for residential outdoor plumbing fixtures illustrate how requirements can vary by shower type.
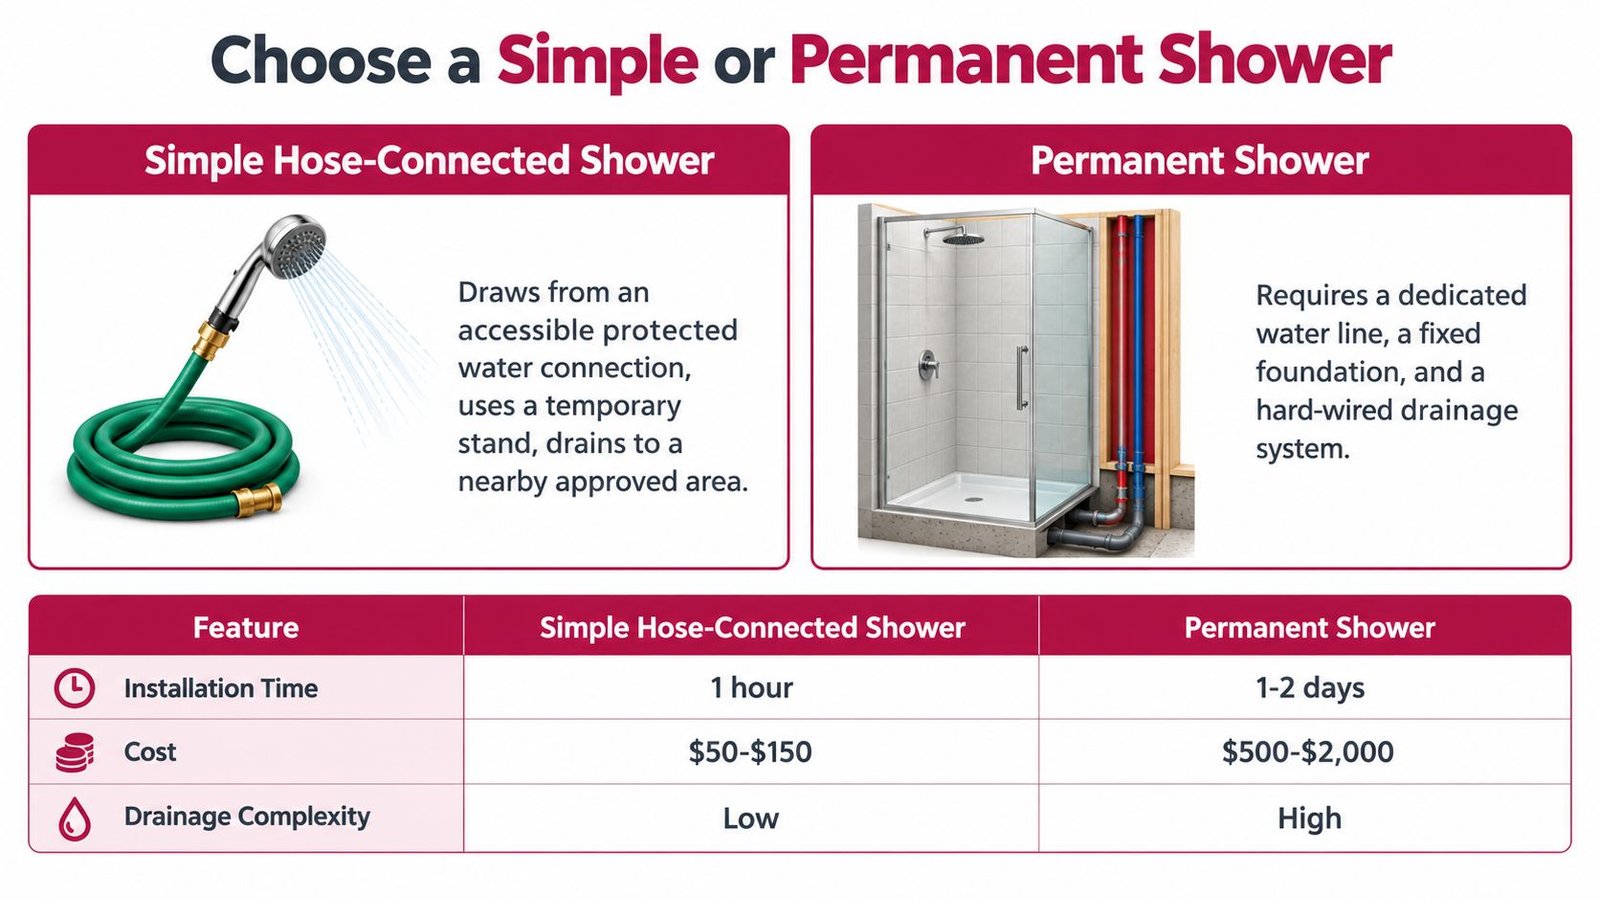
| Design choice | Water supply | Drainage decision | Typical DIY scope |
|---|---|---|---|
| Hose-connected cold-water shower | Protected cold-water connection | Confirm an allowed receiving area or connection | Stand, base, screen, and fixture assembly |
| Permanent hot-and-cold shower | Fixed hot and cold piping | Confirm an approved drain or wastewater arrangement | Usually non-plumbing construction, with professional help for required connections |
How Do You Build a DIY Outdoor Shower?
You build a DIY outdoor shower in six stages. First, you plan the layout and set the size. Then you run the plumbing and set up drainage. Last, you build the enclosure and test everything. Doing the steps in this order keeps the plumbing and the structure from clashing.
1. Plan Your Outdoor Shower Layout
Planning the layout means choosing where the shower stands and how water gets in and out. Start by picking a spot near an existing water line, such as an outside wall or a hose bib. A shorter pipe run means fewer joints that can leak. It also keeps hot water from cooling on the way to the showerhead.
Next, check the ground. The area must slope away from your house so runoff does not reach the foundation. Think about sun, privacy, and wind as well. For a pool outdoor shower, place it along the path from the pool to the house. Swimmers can then rinse off before they go inside.
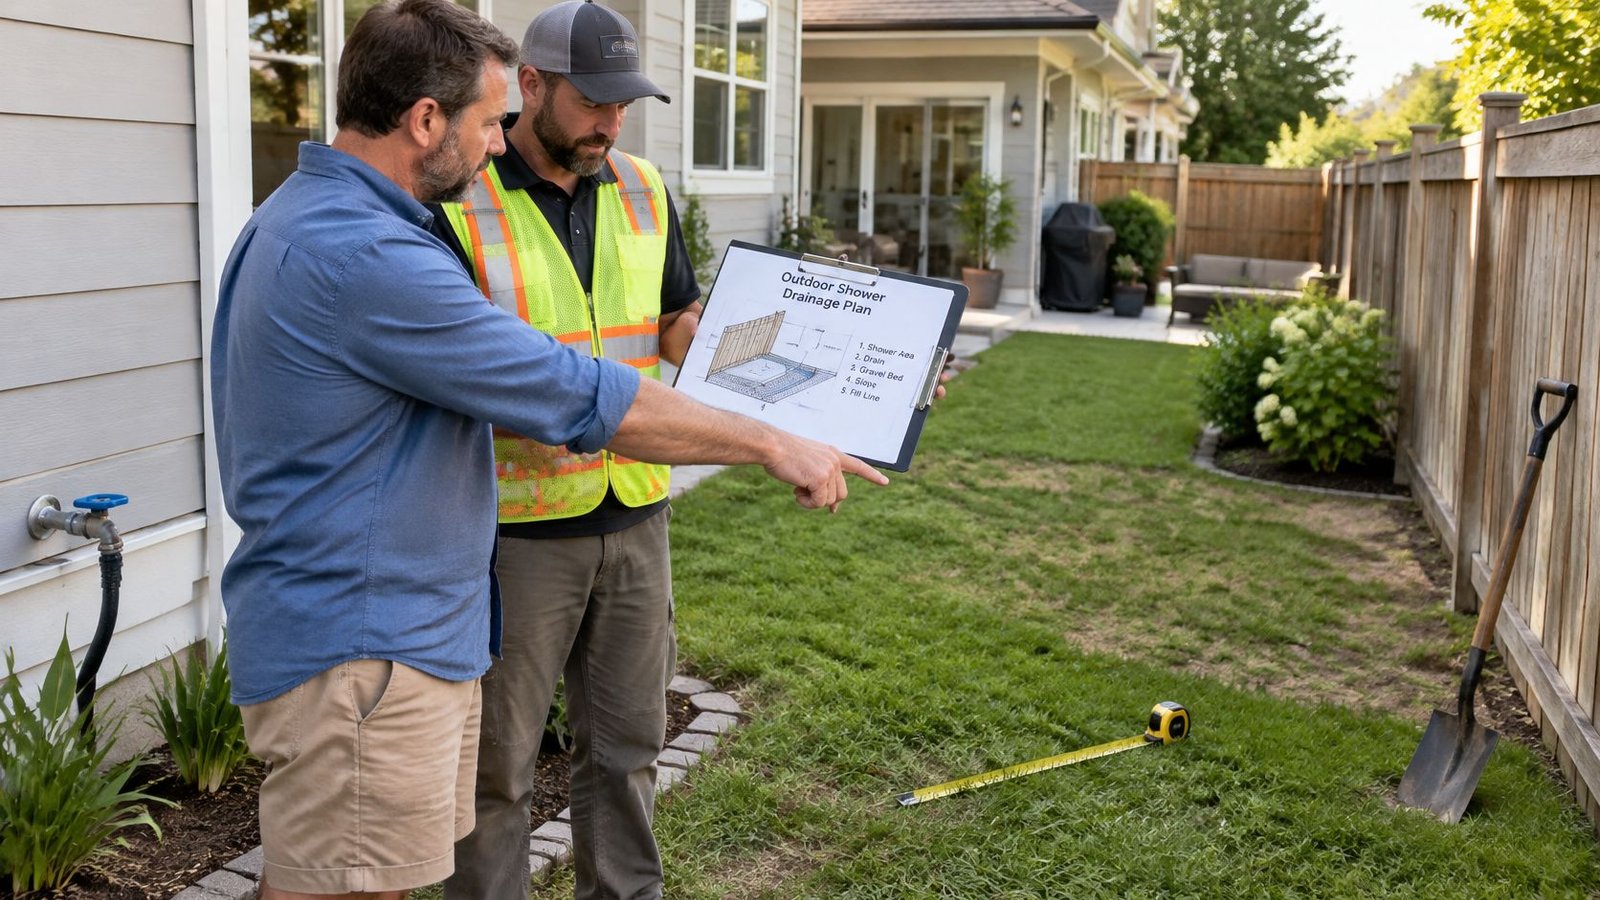
Finally, sketch your outdoor shower plan. Mark the supply lines, the valve, and the drain on a simple outdoor shower plumbing diagram. This sketch guides every later step.
2. Determine the Outdoor Shower Size
The outdoor shower size depends on how much room you want and how much water the floor must drain. A 3 by 3 foot floor is a common minimum. A 4 by 4 foot floor feels roomier and leaves space for a bench or hooks.
Set the showerhead between 7 and 8 feet high so most users can stand under it. Leave room around the shower for the door, the walls, and a dry spot for towels. Size also affects plumbing. A larger floor sends more water to the drain, so the drain area must be sized to match.
3. Start the Outdoor Shower Plumbing
Outdoor shower plumbing carries cold water, and often hot water, from your home to the shower. The simplest setup uses a garden hose for cold water only. A permanent setup taps into your home's supply lines instead.
To start the plumbing for a permanent outdoor shower, follow these steps.
Shut off the water supply to the lines you plan to tap.
Connect a tee fitting to the cold and hot supply lines.
Run PEX or copper pipe from the tees to the shower location.
Add a shut-off valve so you can stop the water without turning off the whole house.
Connect the pipes to the mixing valve.
The mixing valve controls water temperature, so choosing shower valves with care keeps the water steady and safe. Wrap plumber's tape on every threaded joint to prevent drips. If you connect through a garden hose, add a vacuum breaker so dirty water cannot flow back into your drinking water. In cold climates, plan a way to drain the pipes before freezing weather. If your existing spigot leaks, review leaking outdoor faucet causes before relying on it. For more context, see plumbing installation for permanent fixtures.
4. Handle Outdoor Shower Drainage
Outdoor shower drainage moves used water away from the shower and your house. Poor drainage leaves mud, standing water, and damp soil near your foundation. Good drainage lets the water soak into the ground at a safe distance.
Common outdoor shower drain ideas include the following.
Gravel pit: A hole filled with gravel under the shower floor lets water soak into the soil.
French drain: A perforated pipe in a gravel trench carries water away from the shower. A French drain for an outdoor shower suits yards with enough room for the trench.
Dry well: A buried, gravel-filled pit holds water and releases it slowly. A dry well for an outdoor shower works well when the soil drains slowly.
Slope the shower floor about a quarter inch per foot toward the drain. Keep the drain area well away from the house. Check local rules too, since some areas limit where shower water can go. Use biodegradable soap to protect your soil and plants.
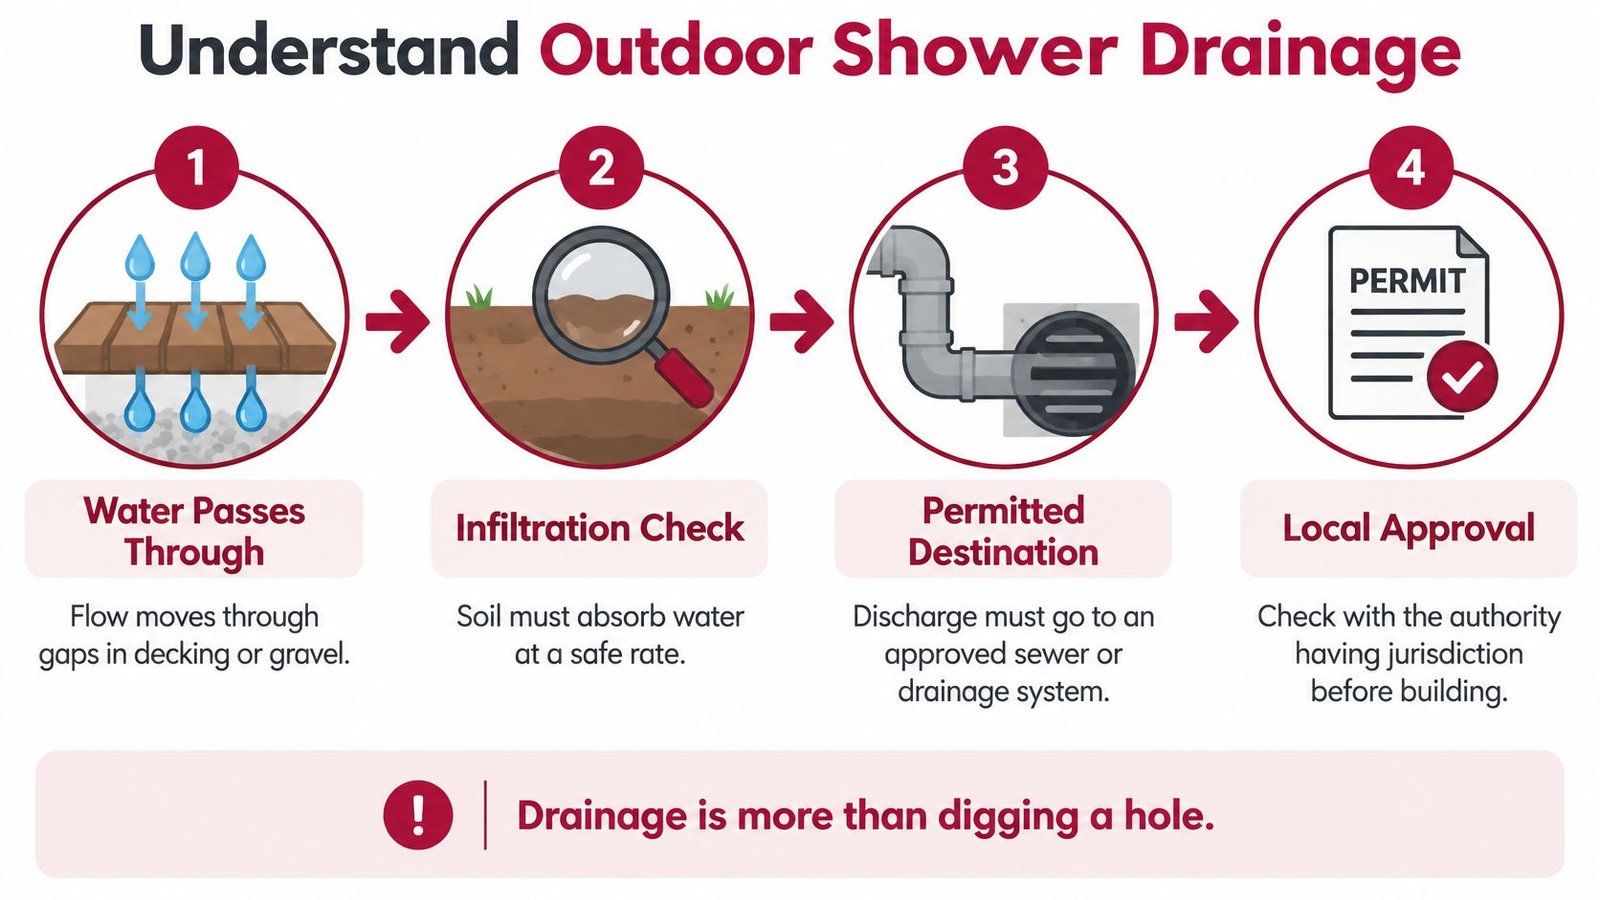
Drainage rules and site conditions can affect which idea works. Check the Greenwich sewer department document on outdoor plumbing fixtures for an example of local sewer guidance. The guide to outdoor shower drain options and percolation testing discusses checking soil, while common drainage problems and what they signal can help you recognize pooling. For drain performance, see guidance on linear and point drain capacity. The EPA Shepherd Creek watershed study on connected impervious surfaces discusses how water moves across hard surfaces.
Check the alternate water sources guidance for Los Angeles County for an example of how shower wastewater can be regulated. The San José plumbing and grading guidance provides an example of local requirements for keeping water away from foundations and handling drainage piping.
5. Build the Outdoor Shower Enclosure
The outdoor shower enclosure gives you privacy and holds the fixtures in place. Build a frame from sturdy posts, then attach the walls. Cedar, redwood, and pressure-treated wood hold up well outdoors. Composite boards and metal panels also work and need little upkeep.
Most outdoor shower walls stand 6 to 7 feet high. Leave a small gap at the bottom or the upper edge so air can circulate and the wood can dry. A roof is optional. A simple overhead cover protects the fixtures from rain and sun.
For the floor, use pavers, slatted wood, or gravel. Each one lets water pass through and gives you a safe, non-slip surface. Seal all wood with an outdoor finish. Keep wood away from direct contact with wet soil whenever you can.
6. Install and Test the Outdoor Shower
Installing the fixtures is the last build step. Mount the valve on the frame and connect it to the supply pipes. Wrap plumber's tape around the arm threads, then install showerhead hardware by hand and tighten it a quarter turn with a wrench.
Testing proves the work holds up. Open the water slowly and check every joint for leaks. Confirm that the water pressure and temperature feel right. Let the shower run for several minutes and watch the drain area. The water should soak in without pooling. Fix any drips or slow drainage before you use the shower.
What Are Common Plumbing Mistakes for Outdoor Showers?
The common plumbing mistakes for outdoor showers are listed below.
Skipping the shut-off valve: Without one, you must shut off the whole house to fix a small leak.
Poor drainage planning: Water pools near the shower or the foundation and turns the ground to mud.
Forgetting the vacuum breaker: Dirty water can flow back into your drinking water when the shower connects to a hose.
Ignoring freezing weather: Water left in the pipes can freeze and crack them.
Using the wrong pipe or fittings: Parts that are not rated for outdoor use can crack or corrode.
Skipping plumber's tape: Threaded joints drip without a proper seal.
Undersizing the drain: A drain too small for the floor cannot keep up with the water.
Skipping local rules: Some areas have rules about connections and where shower water can go.
What Are the Benefits of Having an Outdoor Shower?
The benefits of having an outdoor shower are listed below.
Cleaner home: You rinse off sand, salt, chlorine, and dirt before you walk inside.
Less mess indoors: Wet footprints and dirty clothes stay outside.
Pool and beach convenience: A quick rinse after swimming is always close by.
Extra outdoor comfort: A cool shower on a hot day is easy to enjoy.
Added home appeal: A well-built shower makes a yard feel more complete.
Water efficiency: A short rinse uses less water than a full indoor shower.
How to Take Care of Your Outdoor Shower?
To take care of your outdoor shower, follow these steps.
Rinse the floor and walls regularly to remove soap, sand, and dirt.
Clear leaves and debris from the drain area so water keeps soaking in.
Check the pipes and fittings for leaks every few months.
Clean mineral buildup from the showerhead.
Reseal or refinish wood surfaces once a year.
Before freezing weather arrives, close the supply valve, drain the lines, and follow winter plumbing maintenance steps for exposed pipes.
Is it possible to build an outdoor shower yourself?
Yes, you can build an outdoor shower yourself. Most homeowners can handle the planning, the frame, and the enclosure with basic tools. A hose-fed shower is the easiest to build. A permanent setup with hot water and a drain takes more skill. Bring in a plumber if you need to tap into your home's supply lines or if drainage becomes a problem. If you need help deciding, see when to call a plumber instead of continuing DIY work.