

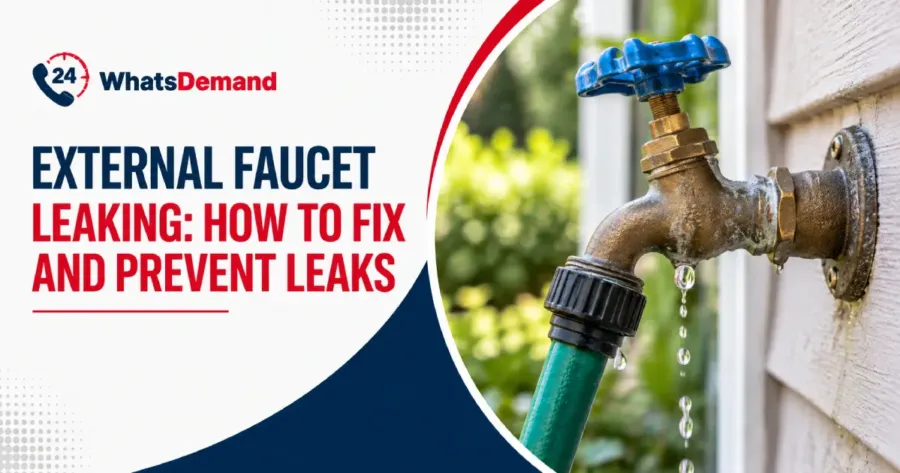
External faucet leaking is an outdoor plumbing issue caused by a worn stem washer, a loose packing nut, or a cracked vacuum breaker, and it shows up at the handle or the top cap. A leaky faucet dripping once per second wastes more than 3,000 gallons per year, according to the EPA’s WaterSense program in the U.S., which means an outside faucet dripping even adds up fast on the water bill.
Simple fixes (tightening a packing nut or swapping a washer) resolve leaks, while a cracked faucet body or repeated freeze damage signals it is time for full replacement instead of another patch job. Routine inspections, proper hose disconnection, and winterization prevent common plumbing problems before they start. Keep reading below for step-by-step repair, replacement, and prevention guidance.
Why is Your External Faucet Leaking?
Your external faucet is leaking because the rubber stem washer wears down over time, letting water bypass the valve seat and drip at 20 drops per minute, wasting nearly 5 gallons a day. A loose packing nut behind the handle breaks the seal around the stem, mineral buildup corrodes the valve seat, and freezing temperatures below 32°F crack the brass body or copper line once trapped water expands.
Finding if the leak comes from the spout, the handle, the packing nut, or the vacuum breaker tells the homeowner which fix to use. The solution involves replacing the washer, tightening the packing nut, or installing a new outdoor faucet.
What Causes an Outdoor Hose Spigot to Leak?
The causes of an outdoor hose spigot developing leaks are listed below.
- Worn Stem Washer. The rubber disc at the valve seat flattens from repeated compression, marking ordinary wear that a simple part swap corrects.
- Damaged O-Ring. The rubber seal around the valve stem cracks from age and mineral exposure, reflecting routine deterioration fixable by replacing the ring.
- Loose Packing Nut. The hexagonal nut behind the handle loosens from vibration, signaling a minor wear issue resolved through wrench tightening.
- Valve Seat Corrosion. Hard-water mineral deposits build up on the seat surface, indicating structural damage that demands replacement.
- Freeze Damage. Trapped water inside the pipe expands past 32°F and splits the brass body or copper line, representing structural damage behind an outside faucet leaking from the handle or spout that needs full spigot replacement.
Is a Leaking Outside Faucet Dangerous to Your Home’s Foundation?
Yes, a leaking outside faucet is dangerous to your home’s foundation. An outside faucet dripping near the foundation wall softens the surrounding soil, causing cracks and uneven pressure against the concrete base.
Unchecked water waste drives up utility bills while creating damp conditions that nurture Stachybotrys chartarum (black mold) and Penicillium (green mold) growth on siding and in crawlspace framing. The pooling water triggers drainage problems around the perimeter if left unresolved long enough.
How Do You Identify Where the Outdoor Spigot Leak Is Coming From?
Identify where an outdoor spigot leak is coming from by running water and checking four points. The handle, the spout, the packing nut, and the pipe connection where the faucet meets the wall. Watching where water first appears while the faucet is on and where it keeps dripping after you shut it off narrows down which part has failed.
A leak from around the handle or hose bib almost always traces back to worn stem packing or a loose packing nut, and in most cases you can fix it by tightening the packing nut a quarter turn or replacing the packing material without disassembling the rest of the faucet. A leak occurring at the top of the spigot, where the handle connects to the body, often indicates that the packing or stem seal beneath it has deteriorated. In most cases, simply tightening the packing nut or replacing the seal will resolve the issue. Conversely, if a leak appears only when the water is activated, rather than when the faucet is off, it suggests a pressure-related issue, such as a worn internal washer or a damaged valve seat that allows water to flow only under pressure. This type of leak usually needs a washer or seat replacement rather than a simple tightening.
How Do You Fix a Leaky Outdoor Faucet?
To fix a leaky outdoor faucet, follow the seven steps listed below.
- Isolate the Outdoor Water Line. Turn off the indoor shut-off valve serving the exterior faucet and relieve pressure by opening the spigot completely.
- Remove the Faucet Operating Hardware. Take off the handle, retaining screw, and bonnet assembly to expose the internal valve mechanism without damaging the threads.
- Clean the internal waterway. Flush out grit, rust flakes, and calcium deposits from the valve chamber and seating surfaces using a soft brush or descaling solution.
- Install New Internal Repair Parts. Fit replacement components from a hose bib repair kit that matches the faucet model and stem length.
- Apply thread sealant and reassemble. Wrap threaded connections with PTFE thread seal tape where required and reassemble the faucet according to the manufacturer’s orientation.
- Restore Water Pressure Gradually. Open the shut-off valve slowly to allow the plumbing system to repressurize without creating a sudden pressure surge.
- Verify Leak-Free Operation. Cycle the faucet through fully open and fully closed positions 4–5 times while checking every joint for seepage before returning it to normal use.
What Tools Do You Need for an Outdoor Faucet Repair?
The tools and materials for an outdoor faucet repair are listed below.
- Adjustable wrench: Removes the packing nut and handle without damaging the finish.
- Screwdriver: Removes the screw holding the handle in place on most standard faucet models.
- Replacement washer, O-ring, and packing: The actual parts being swapped in, ideally matched to your faucet’s exact model or size.
- Plumber’s grease: Lubricates new O-rings and packing material so they seat properly and last longer.
- Adjustable pliers: Provide extra grip on a stuck or corroded stem that won’t come loose by hand.
For more involved repairs, such as replacing an entire faucet assembly or working with a corroded pipe connection, a pipe wrench and plumber’s tape are worth having on hand as well. If a repair starts to look more involved than a straightforward parts swap, bringing in plumbing repair services is a reasonable next step rather than working past your comfort level with the tools on hand.
When Should You Replace or Repair an Exterior Faucet?
You should replace or repair an exterior faucet when a worn stem washer, deteriorated O-ring, or loose packing nut needs attention. A cracked faucet body or a split copper supply line signals irreversible damage because freeze expansion or long-term mineral buildup compromises the fixture’s structural integrity beyond simple part replacement.
The Department of Energy’s Building America program recommends installing frost-free sill cocks with a downward pitch and PEX supply lines, signaling replacement once a standard faucet shows recurring freeze cracks. A failed component warrants repair, while multiple failure points or pipe damage inside the wall calls for full replacement to prevent water damage.
How Do You Replace an Entire Outdoor Faucet Assembly?
To replace an entire outdoor faucet assembly, follow the six steps listed below.
- Shut Off the Water Supply. Locate the interior shutoff valve and turn it clockwise to stop water flow to the exterior faucet before starting disassembly.
- Drain Remaining Water. Open the outdoor spigot fully to release residual water and relieve pressure trapped inside the supply line.
- Disconnect Old Faucet. Grip the pipe behind the faucet with a second wrench and unscrew the old hose bib counterclockwise from the threaded fitting.
- Clean Threaded Fitting. Remove old pipe tape residue and corrosion from the exposed threads using a wire brush before installing the replacement.
- Install New Sill Cock. Wrap the male threads with PTFE tape, thread the new frost-free sill cock in by hand, then snug it with a wrench.
- Test the New Faucet for Leaks. Restore the water supply and inspect the wall connection and spout for seepage, calling a plumber if a cracked supply pipe behind the wall complicates the plumbing installation process.
How Do You Prevent Your Outdoor Water Faucet from Leaking in the Future?
Prevent your outdoor water faucet from leaking in the future through inspections of the packing nut, stem washer, and vacuum breaker cap for mineral crust or hairline cracks before they worsen. Disconnecting hoses after each use keeps residual water from trapping inside frost-free sill cocks, because trapped water expands past 32°F and splits the internal valve.
Applying silicone-based lubricant to the stem threads twice a year prevents corrosion binding. Draining the line through the interior shutoff valve each fall, per Portland Water Bureau’s winterization guidance, keeps the pipe protected through the cold months.
How Do You Winterize Your Outdoor Spigots to Prevent Freezing and Leaks?
To winterize your outdoor spigots, follow these steps.
- Disconnect and drain any hoses still attached to the faucet.
- Shut off the water supply to the outdoor line at its dedicated indoor valve, if your home has one.
- Open the outdoor faucet briefly to drain any remaining water from the line, then close it again.
- Cover the faucet with an insulated faucet cover to protect it from freezing temperatures.
Homes in colder climates benefit from installing a frost-free spigot, which is built with the shutoff valve set further back inside the wall, where indoor temperatures keep the water from freezing in the first place. Taking these steps before the first hard freeze goes a long way toward preventing pipes from freezing, since a frozen and cracked outdoor line is one of the more common sources of a spring leak.