

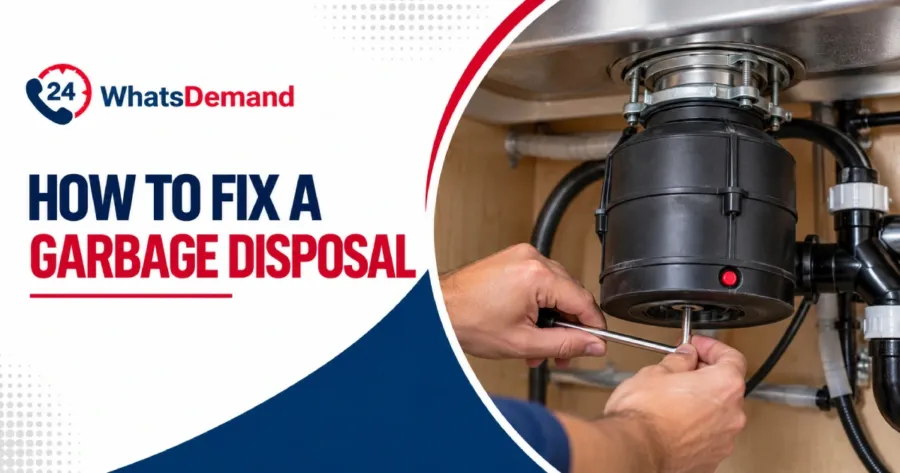
To fix a garbage disposal, cut the power first. Then clear the jam, turn the shaft with an Allen wrench, press the reset button, and test the unit. Most stuck, silent, or humming units respond to this order.
Simple disposal repair is safe for most homeowners. A jammed disposal, a tripped reset button, and a clogged drain all fit that group. Electrical faults, leaks, and burning smells do not. The seven steps below cover each fix, followed by the causes of repeat jams, prevention habits, and the signs that call for professional plumbing services. The same steps apply to any food waste disposer, including the garburator found in many Canadian homes.
1. Turn Off the Power to the Garbage Disposal
Turning off the power means switching off the wall switch and the circuit breaker that feeds the garbage disposal. If the unit plugs in under the sink, unplug it as well.
The breaker cuts power at the panel, so the motor cannot start while your hands are near the grinding parts. A wall switch alone is not enough, because someone can flip it by mistake.
This step protects you from injury. Never reach into the unit by hand, even with the power off. Use tongs or pliers instead.
2. Diagnose the Garbage Disposal Problem
Diagnosing the problem means matching what the unit did to its likely cause. A hum with no spinning points to a jammed flywheel. Silence with no hum points to a tripped reset button or breaker. Slow drainage or standing water points to a clogged drain line. A leak or burning smell points to a fault that needs a professional.
The motor hums when it gets power but cannot turn the grinding plate. It stays silent when the overload protector has cut power. A clog in the drain line has nothing to do with the motor, so the unit can run normally while the sink backs up.
A correct diagnosis saves time. Note the symptom before you shut off the power, then confirm it with a flashlight. This keeps you from forcing a repair the unit does not need.
3. Remove Stuck Objects from the Garbage Disposal
Removing stuck objects means finding the item that blocks the grinding plate and lifting it out. Shine a flashlight into the drain, then pull out any visible object with tongs or long-nosed pliers. Spoons, coins, rings, and bottle caps are the most common culprits.
A stuck object wedges against the plate and keeps it from turning. Once the object is out, the plate can move freely again. In many cases, this one step fixes the jam.
This step matters because it removes the cause of the jam, not just the symptom. Check for a second object before you move on. Never use your fingers, because the grinding parts are sharp and hard to see.
4. Unjam the Garbage Disposal with an Allen Wrench
Unjamming with an Allen wrench means turning the motor shaft by hand from under the sink. Insert a 1/4-inch Allen wrench into the hex socket at the center of the unit’s base. Work it back and forth with firm, steady pressure until the shaft makes a full rotation. Many units ship with this wrench.
The socket connects directly to the flywheel. Turning the wrench rotates the flywheel without motor power, which breaks the jam loose.
This step restores free movement to the grinding plate. Remove the wrench before restoring power. If the shaft will not turn with firm pressure, do not force it. A seized flywheel needs a plumber.
5. Reset the Garbage Disposal
Resetting the unit means pressing the red reset button on its underside after the motor has cooled. Wait about 15 minutes, turn the circuit breaker back on, and press the button firmly until it clicks.
The unit has a built-in overload protector. A jam makes the motor overheat, which trips the protector and cuts power. The button resets that protector so the motor can run again.
Without this step, a cleared jam can still leave the unit dead. If the button trips again right away, the motor or wiring has a fault. Turn off the power and call a plumber.
6. Unclog the Garbage Disposal Drain
Unclogging the drain means clearing the line past the grinding chamber. Keep the power off, add a few inches of water to the sink, and plug any second drain. Seat a cup plunger over the disposal opening and pump firmly 10 to 12 times. If water still stands, set a bucket under the trap, loosen the slip nuts, and clear out the debris.
Food waste that slips past the grinding plate can pack into the trap, the curved pipe under the sink. Water then drains slowly or backs up into the basin. For stubborn blockages, professional drain cleaning clears the line beyond the trap.
This step fixes slow drainage that grinding repairs cannot solve. Skip chemical drain cleaners. They can damage the unit and splash back during use.
7. Test the Garbage Disposal
Testing means restoring the power and running the unit under normal use. Turn the breaker back on, run a strong flow of cold water, and switch the disposal on. A healthy unit grinds smoothly and drains without delay.
The water flow carries waste through the trap, so it shows whether the drain line is clear. The sound shows whether the grinding plate spins freely. A look under the sink shows whether any joint leaks.
Testing confirms the fix before you walk away. If the unit hums, jams again, or leaks, switch it off and move to the plumber section.
Why Does a Garbage Disposal Keep Getting Stuck?
A garbage disposal keeps getting stuck when foreign objects, tough waste, grease buildup, low water flow, or worn parts stall the grinding plate. Repeated jams are among the most common plumbing problems in kitchens, so they deserve a fix at the source.
Foreign objects such as spoons, coins, and rings fall in and wedge against the plate. Fibrous or hard foods like celery, corn husks, and bones resist grinding and stall the unit. Fats coat the chamber and harden into sludge, and starchy foods like rice and pasta swell into a paste. Low water flow lets waste compact in the chamber instead of washing through.
Worn impellers are the last cause. A disposal does not use sharp blades. It spins a plate with blunt metal lugs called impellers. Over the years, the lugs wear down and grind less well. Larger pieces then reach the drain and jam.
How Do You Prevent a Garbage Disposal from Jamming?
Run cold water, feed small amounts, and keep fats out of the unit. The habits below help.
- Run cold water: Use a strong flow of cold water during use. Cold water keeps grease solid, so it flushes through the pipes.
- Feed small amounts: Add waste gradually instead of in one large load.
- Bin fats, oils, and grease: Throw them in the trash, because they build up in the plumbing.
- Add eggshells and coffee grounds slowly: They do not harm the unit, but large amounts can clog older or slow pipes.
When Should You Call a Plumber for Garbage Disposal Repair?
Call a plumber when the DIY steps fail or when the problem involves electricity, leaks, or burning. Switch off the power at the breaker, then book a local plumber for plumbing repair before you use the unit again.
A seized flywheel is the first sign. The shaft will not turn with the Allen wrench, even with firm pressure. A reset button that keeps tripping is the second. It means the motor is overheating or has an electrical fault, which is a safety risk.
A burning smell is a safety risk too. The motor or wiring is overheating, so cut the power at the breaker at once. A leak is another safety risk when water reaches the motor or wiring. A leak at the seams also means the unit needs replacement.
The last sign is a motor that hums while the wheel spins freely. The jam is gone, but the motor still does not drive the wheel. This points to a motor fault that a DIY fix cannot reach.
Is It Time to Replace a Garbage Disposal?
Yes, replace a garbage disposal that leaks, jams often, or has a failed motor. Most units last about 8 to 15 years, so an older unit with these problems is near the end of its life.
Other signs include food collecting in clumps near the drain and constant plunging to clear clogs. A new model with anti-jam features or a stronger motor reduces repeat jams.